Setting Up
Discord Linked Roles
This extension allows you to link Discord roles to user accounts on your platform, enabling automatic role assignment based on user actions or purchases.
📦 Configuration
1. Create a Discord Bot
If you don’t have a Discord bot yet, follow these steps to create one:
- Go to the Discord Developer Portal.
- Click on New Application.
- Give your application a name and click Create.
- Navigate to the Bot tab and click Add Bot.
- Customize your bot’s settings and copy the Bot Token.
- Navigate to the OAuth2 tab and copy the Client ID and Client Secret.
- Temporarily store the Bot Token, Client ID, and Client Secret in a secure location, as you will need them for the Paymenter configuration.
2. Configure the Extension
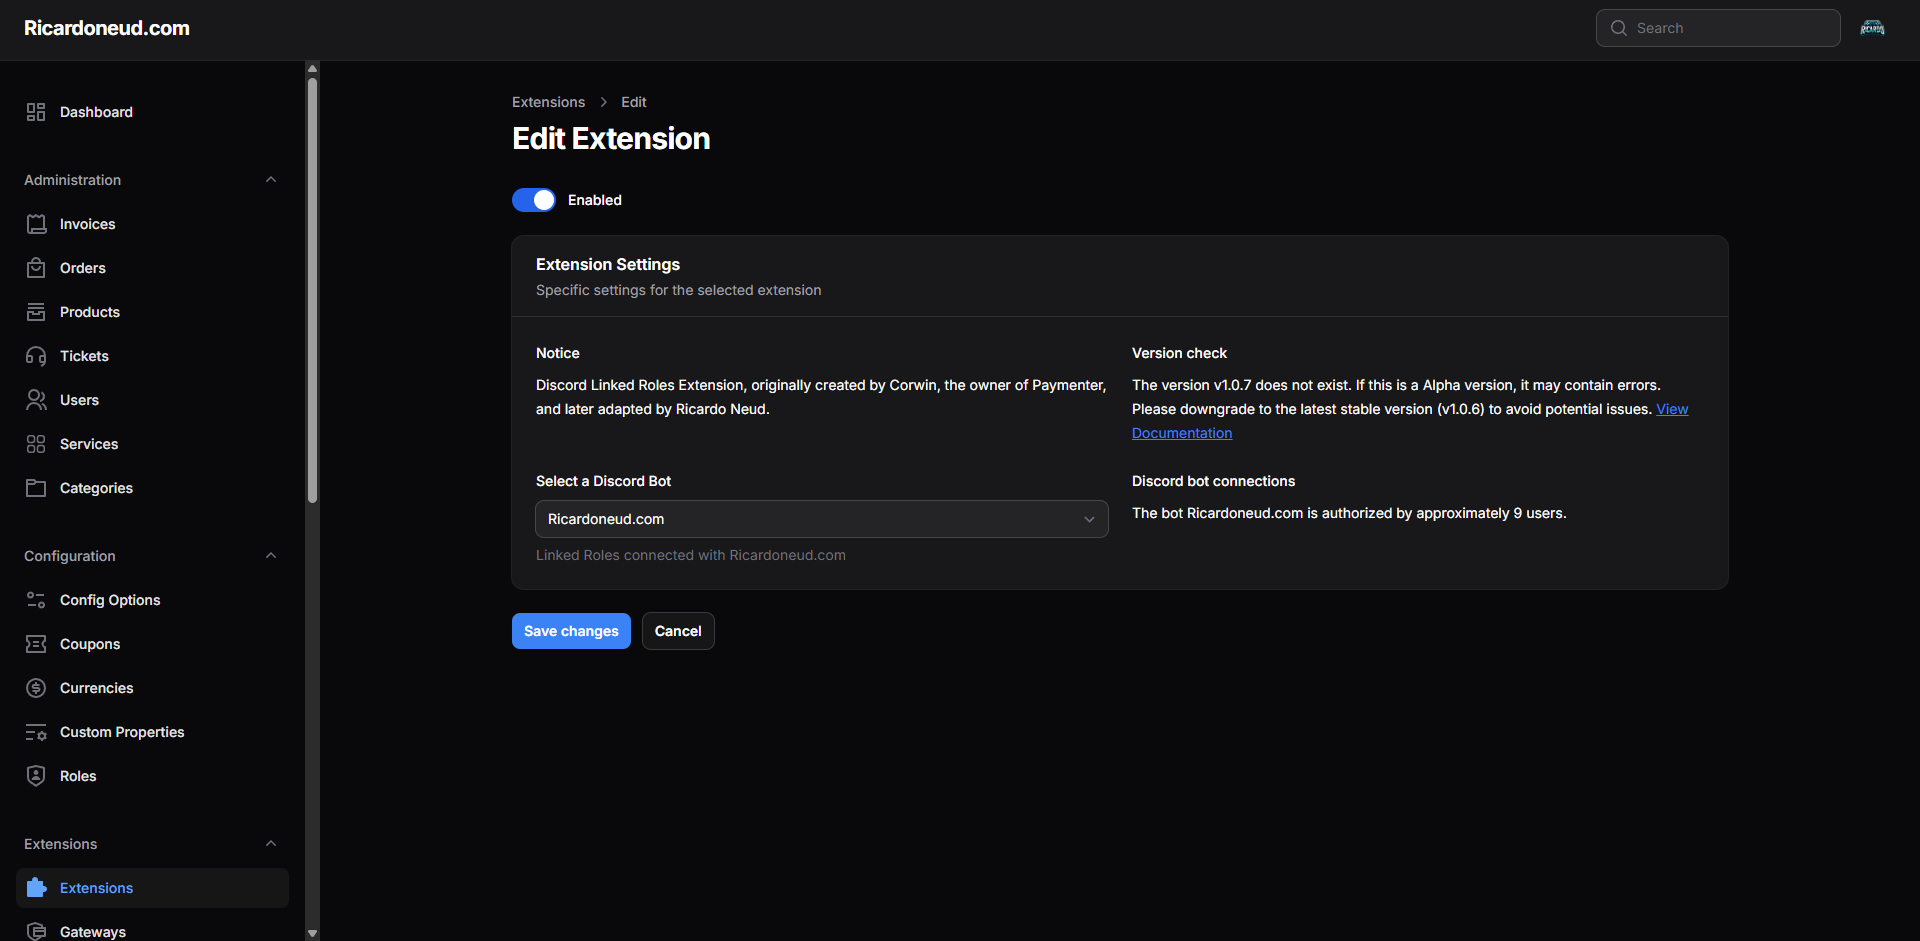
- Navigate to the Extension Settings.
- Enable the extension.
3. Invite Your Bot
Use the OAuth2 URL Generator:
- Select
botandapplications.commandsscopes. - Under bot permissions, choose only what you need (e.g.,
Manage Roles). - Generate the invite link and add the bot to your server.
4. Set Up Linked Roles in Discord
- Go to your server settings → Linked Roles.
- Click Add Requirement.
- Select your bot/application.
- Define the condition for granting the role (e.g., based on user verification).
- Assign the role that should be given upon matching.
To display a badge next to a user’s name, make sure the role is allowed to show in the channel’s settings.
5. Configure in Paymenter
-
Linked Role Settings:
- Navigate to the Linked Role Settings in your Paymenter admin panel.
- Click on New linked role setting.
- Enter the Bot Name, Discord Client ID, and Discord Client Secret that you temporarily stored.
- The Discord Client Secret will be hidden for security reasons.
-
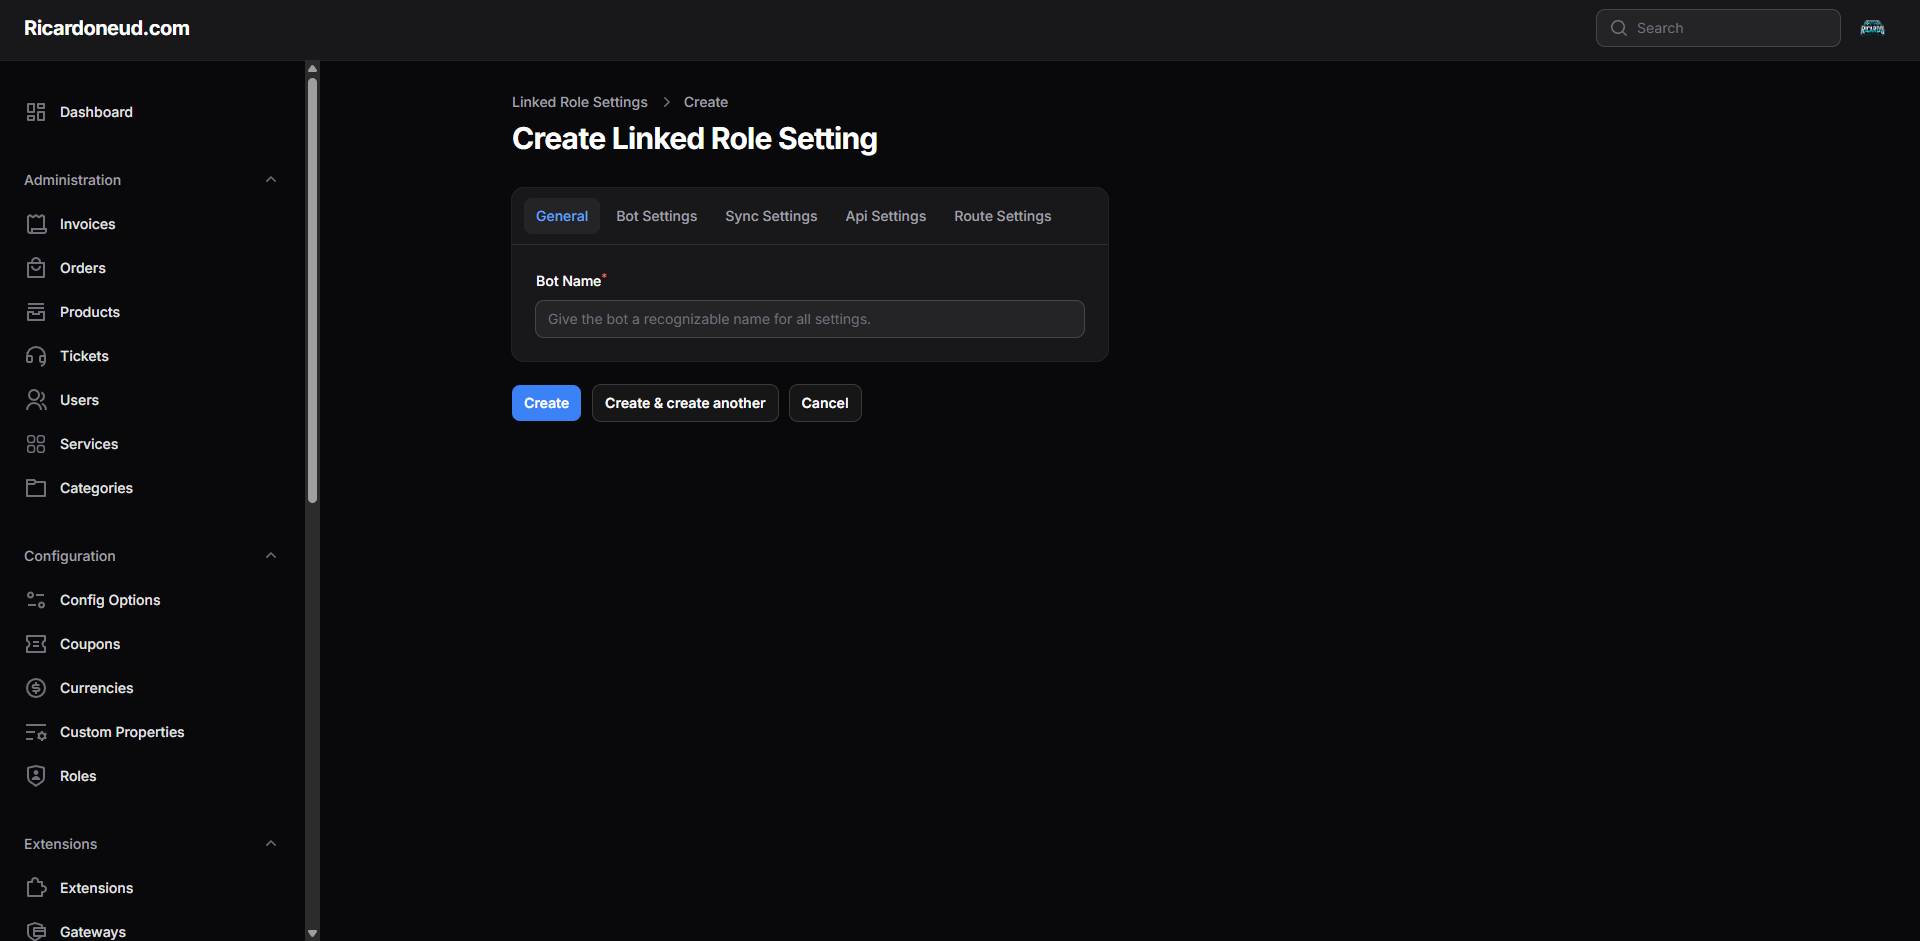
Create Linked Role Setting:
- Go to Create Linked Role Setting.
- Under General, provide a recognizable Bot Name.
-
Sync the Bot:
- Go back to the Extensions tab.
- Click on the Sync Now button to synchronize all bots.
- Select the bot you have configured from the list of available bots.
-
Select the Bot:
- Go back to the Extension Settings.
- Select the bot you want to use from the dropdown menu.
🧪 Claiming the Role (User Flow)
Once everything is set up, this is how your users claim their role:
- Link their Discord account to their Paymenter account via your dashboard.
- Join your Discord server.
- Right-click on the server icon → Linked Roles.
- Follow the verification prompt to claim their role.
✅ You’re Done!
Your customers can now securely link their Discord account to their Paymenter account and automatically receive a Discord role when they make a purchase. This is ideal for communities that want to reward buyers with perks, access, or premium roles inside Discord.